Bonjour !
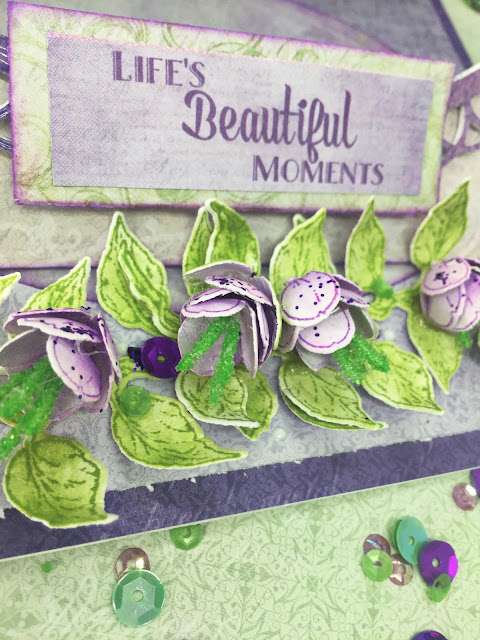
Voici ma première tentative pour faire une carte chevalet. Ce fut plus compliqué que ce que j'aurais cru mais je suis quand même satisfaite du résultat.
Voici les produits que j'ai utilisés de même que les étapes de réalisations de cette dernière.
Products Used:
Wisteria Petals Die, HCD1-7295
Cascading Wisteria Die, HCD1-7296
Wisteria Petals Cling Stamp Set, HCPC-3911
Cascading Wisteria Cling Stamp Set, HCPC-3912
Cascading Petals Paper Collection, HCDP1-2115
Eyelet Oval Die, HCD1-776
Rock Candy Stamens-Small, HCS1-459-4
Pastel Bead Stamens-Medium, HCS1-457-3
Celebrate Love Sentiments Cling Stamp Set, HCPC-3847
Deluxe Flower Shaping Paper Pack of 25 - White, HCPP1-468
Deluxe Flower Shaping Kit, HCST1-401
Stack and Store Daubers-Pack of 30, HCDA2-450
Ranger Archival Ink Pad - Majestic Violet, RACP494
Ranger Archival Ink Pad - Leaf Green, RACP436
3-D Crystal Lacquer 4 oz, 3D1844
Heat It Craft Tool, RAHT
Stamp Mat Pad, D110305
5pc. Acrylic Block Set, SUAH05
Other Products: Die cutting machine, cheesecloth, Gutermann sewing thread, 28 lilac lane’s sequins, water mister, hot glue gun, hot glue, scissors, heat gun, stickles purple, funnel tray
For more tips on creating with the Cascading Petals Collection watch the tutorial at https://youtu.be/DqhvfrsTI00.
Instructions: Click here to view another photo of this card. To create this 6" x 6" easel card, start by taking a piece of white card stock 12" x 6". Glue a violet paper inside the card and score at the 6" and 9" marks. Die cut an oval from the Eyelet Oval die in the middle of the top. Cut a 5 1/2 x 5 1/2 lilac paper and glue it in the violet base. Cut a pink paper with the same dimension and die cut a oval with the Eyelet oval, just like the inside top base. Glue it to the first 3 inches x 6 inches card to make the card fold at 3 and 6 inches (but don’t fold the pink paper). Take the pink oval you just made and ink the border with magestic violet. Glue it on the center of the bottom panel. Stamp a sentiment on it from the Celebrate love sentiments set. Next, die cut the Eyelet Oval die out of violet paper (sheet 10 B). (I cut this 5 other times for added strength). Glue it over the 5 others ones. Add 3D lacquer on it. Let it dry. Then glue it over the oval hole.
Stamp the Cascading flowers with archival majestic violet ink on white cardstock (and the leaves with the Fern Green Ink also on a white cardstock). Color with the same color with a dauber. Die cut with the coordinating die. Color the flowers on the other side too. Shape the flowers to make them look like cascading flowers.
Glue 2 vines of leaves on the bottom of the card. Add 4 littles flowers on it. It will give dimension and allow your card to stay upright. Also add vine leaves on the top of the eyelet Oval with more flowers on it.
Cut a sentiment from the paper collection. Glue it over your flowers.
To add the finishing touch, simply add sequins, crystal drops and white wire.


This is so pretty Veronique...I love the design!!!
RépondreEffacer