Aucun message portant le libellé tag. Afficher tous les messages

samedi 24 septembre 2022

Cueillette de champignons en forêt


C'est l'automne !

Et c'est le temps des randonnées en forêt afin de profiter des belles couleurs et pourquoi pas, de cueillir des champignons sauvages !

Quoi de mieux pour nous rappeler cette cueillette de champignons que la collection Mushroom Cottage Collection de Heartfelt Creations.

mardi 7 décembre 2021

Merci !


Bonjour, 

je vous présente une carte de remerciement réalisée avec les dies Sentiments que j'ai découpé en plusieurs copies et que j'ai collé les unes par dessus les autres afin de faire un semblant de chipboard et ainsi faire plus de relief. Le tout agrémenté des étampes et fleurs magnolias faites à la main.


mardi 23 novembre 2021

Utilisation de la fleur Classic Petunia 1/2

Bonjour !

J'ai ressorti une ancienne collection afin de m'amuser un  peu !  Encore une fois j'ai réalisé deux types de fleurs différentes avec les mêmes produits, soit la collection Classic Petunia.  Aujourd'hui je vous présente ma première technique.  Une technique simple ou après avoir étampé et coloré nos fleurs on les mouille légèrement et on les pinces avec nos ongles afin de les ratatiner vers le centre un peu.


Ici pour les étapes de réalisation de cette carte:


Image hébergée par servimg.com


vendredi 7 mai 2021

Une carte en forme de tag

Parfois nous avons besoin de carte avec un peu moins de volume, comme par exemple lorsque nous désirons les envoyer par la poste.  Cette étampe à colorier de la collection Delightful Daffodil est parfaite pour cela.  J'en ai fait une carte "tag" pour faire changement du format de carte habituelle.


Products Used:
Delightful Daffodil & Butterfly DieHCD1-7341
Delightful Daffodil & Hyacinth DieHCD1-7342
Delightful Daffodil & Butterfly Cling Stamp SetHCPC-3943
Delightful Daffodil & Hyacinth Cling Stamp SetHCPC-3944
Delightful Daffodil Paper CollectionHCDP1-2124
Just For You Sentiments Cling Stamp SetHCPC-3845
Deluxe Flower Shaping Paper Pack of 50 - WhiteHCPP1-475
Ornate Ovals DieHCD1-7305
Album Tags and Accents DieHCD1-7202
Deluxe Flower Shaping KitHCST1-401
Stack and Store Daubers-Pack of 30HCDA2-450
Ranger Archival Ink Pad - Leaf GreenRACP436
Ranger Archival Ink Pad - Magenta HueRACP614
Ranger Archival Ink Pad - Jet BlackRACP468
3-D Crystal Lacquer 4 oz3D1844
Zig Clean Color Real Brush Markers - 48 Pack478594
Groove Golf Tool SetDMCT4185
Designer Dries Clear Adhesive159723


Other Products: Die cutting machine Cut’n’boss, heatgun, water mister, hot glue gun, hot glue, scissors, cheesecloth, Gutermann sewing thread, ribbon, 

Instructions: The finished card measures 4 inches by 6 inches. Cut a 8 x 6” white cardstock and fold at 4 inches to make a side fold card. Cut with the biggest tag of the Album tags and accents die kit. With the same die, cut a piece of green paper (#3B). Ink the edges with the leaf green ink and glue it on the top of the card. With the second biggest die, cut a piece from the same paper, ink the edge with magenta hue ink and glue it on the base too. With the same die, also cut 2 other pieces from the paper #1B and glue inside the card.

From the Ornate oval die, cut an oval in green paper and ink the edge in leaf green. Glue it with 3D foam on your card base. On a white cardstock paper, stamp flowers with black ink and color with Zig markers. Die cut with the appropriate die. Add 3D lacquer on your stamped image to make it shine. On the oval, put some ribbon and thread and glue the flowers you just colored on it. 

Stamp a sentiment on a white cardstock with black ink, die cut with a little tag. Ink the edges in pink and glue it on your card.

Image hébergée par servimg.com


dimanche 2 mai 2021

Un petit tag tout en délicatesse

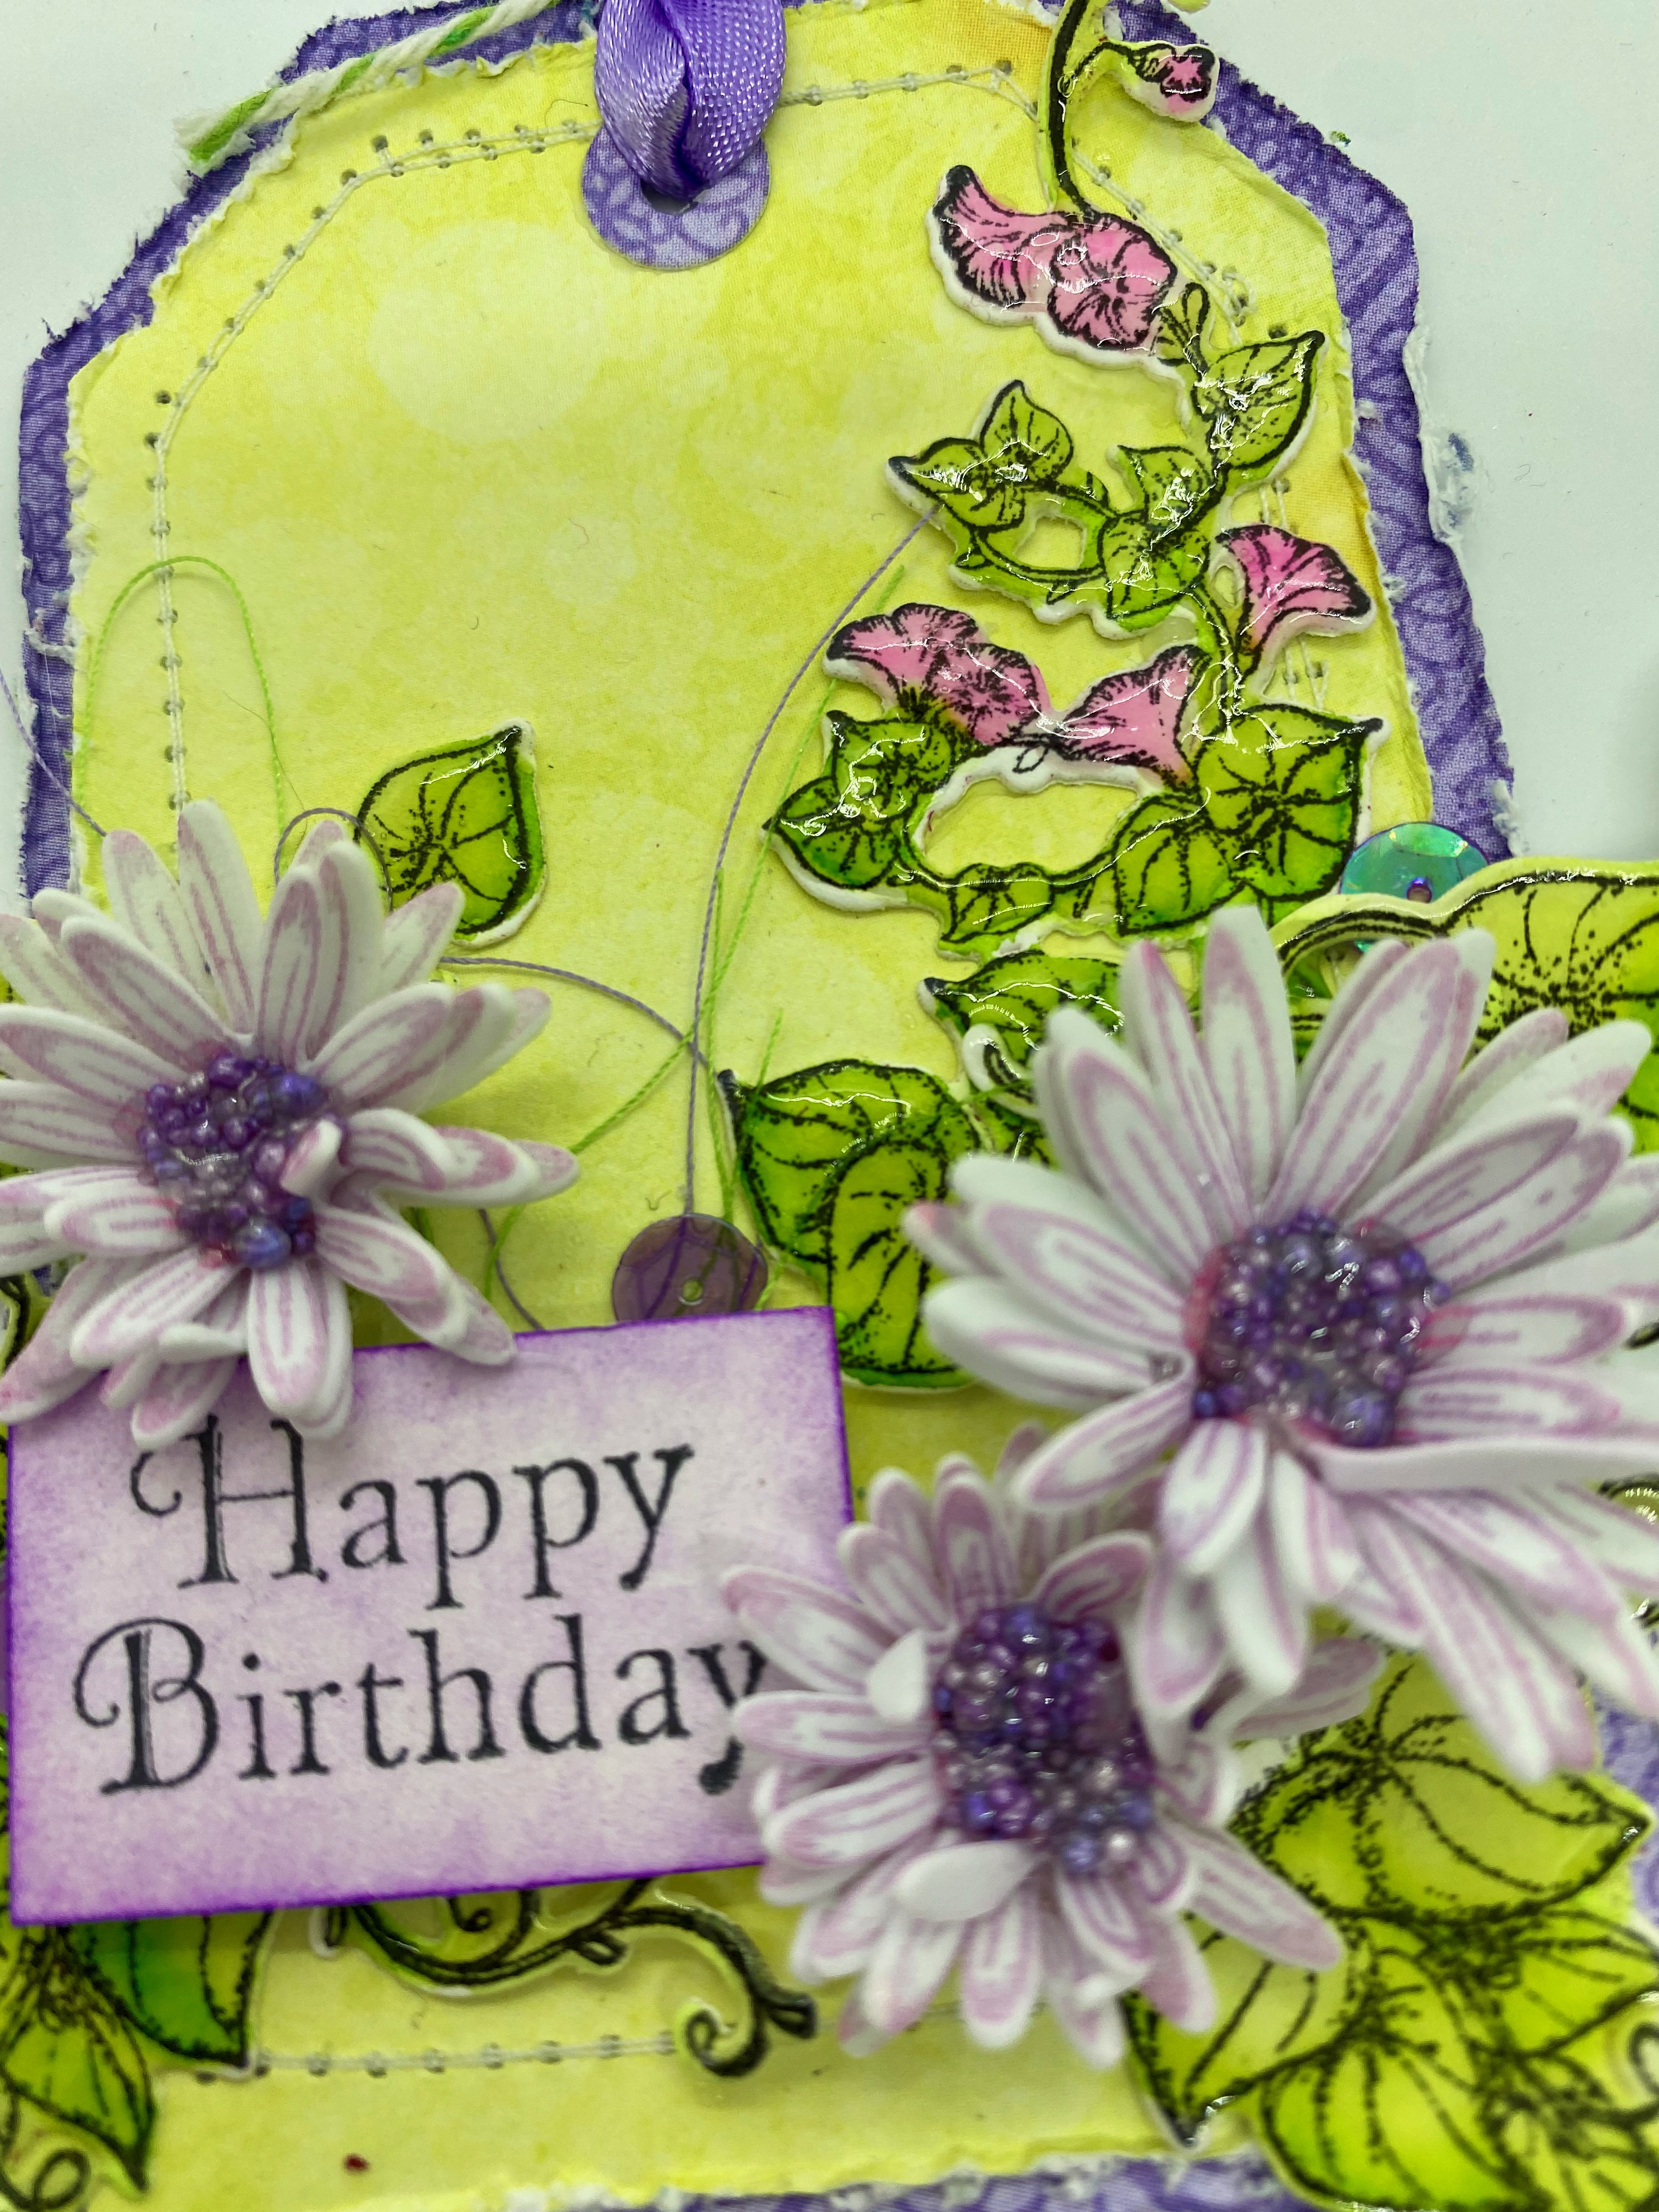
Lorsqu’on offre un cadeau de petite taille, un tag délicat peut être de mise pour accompagner ce dernier au lieu d’une carte. Voici le mien, réalisé avec les planche de découpe Fleurs d’hiver et Valentine. Un petit ajout fait main qui apportera une touche personnelle à la personne concernée ! 

***A noter que j’ai superposé et collé des fleurs et le titre avec de la mousse 3D afin de donner du volume à la composition.***


Image hébergée par servimg.com

mercredi 26 février 2020

Enjoying the moment

Bon mercredi !

Laissez moi aujourd'hui vous présenter, comme à chaque mercredi, ma création faite à partir des collections de Heartfelt Creations.

Aujourd'hui je vous partage la troisième créations que j'ai faite avec la collection Tea Time Collection.  J'ai fabriqué un petit tag avec une pochette à l'intérieur dans laquelle j'ai inséré un petit sachet de thé !  Ceci peut être très plaisant a jouter sur un petit cadeau !


Voici les produits que j'ai utilisés de meme que les étapes de la fabrication de ce tag.


Products Used:
Scor-Tool368771
Spellbinders Tool N' One359848
Scor-Pal Measuring & Scoring Board173842
Stack and Store Daubers-Pack of 30HCDA2-450
Double Dots 100pc. -3D Foam CirclesDDOTS
Designer Dries Clear Adhesive159723
StazOn Stamp CleanerTSSZSC
5pc. Acrylic Block SetSUAH05
Stamp Mat PadD110305
Heat It Craft ToolRAHT
Deluxe Flower Shaping KitHCST1-401
Ranger Archival Ink Pad - SunflowerRACP005
Ranger Archival Ink Pad - Majestic VioletRACP494
Pastel Pearl Stamens-SmallHCS1-457-1
Assorted Pearl Stamens-SmallHCS1-459-1
Zig Clean Color Real Brush Markers - 36 Pack478455
Deluxe Flower Shaping Paper Pack of 50 - WhiteHCPP1-475
Butterfly Kisses Decorative DieHCD1-7179

Other Products: Die cutting machine Cut’n’boss, heat gun, cheesecloth, Gutermann sewing thread, water mister, hot glue gun, hot glue, scissors, ribbon. Stampin’pad Melon Mambo
For more tips on creating with the Oakberry Lane collection, watch the tutorial at https://youtu.be/HirfUN8NEYY.
Instructions: Tag size is 6 x 4". From the Tea Time paper Collection die cut the tag with the Album Tag and Accents using the large tag. Also, cut another piece of paper with the tag that you will tear with your fingers on the top. On the bottom of this tag, glue a lace of paper that you cut in the Tea Time paper. Ink the edge with yellow and violet ink with a dauber. Glue those papers together to make a pocket.
Stamp a cup from the My Cup of Tea stamp set in Majestic Violet ink onto white cardstock and diecut with coordinating die. Color it with zig markers. Cut a doily from the butterfly kisses decorative die set in the white paper color it in pink with a dauber. Glue the doily on the tag.
Stamp the Oakberry Lane blossoms and leaves with Violet archival ink on white card stock. Color the petals with violet and Sunflower ink. Color the leaves in Violet. Diecut with the coordinating dies. Shape the flowers by using the 3D Shaping Mold and give further shape with Deluxe Flower Shaping Kit tools. Add stamens in the centre of the flowers.
Put a cheesecloth and sewing thread on the left of your paper and glue your blossoms and leaves over it. Use from Ticket and tags set to diecut eyelet tag from Tea Time paper collection. Cut sentiment from the collection. Layer the sentiment on tag and onto card. Add teacup next to blossoms as shown.
Add thread and ribbon in the hole of your tag to complete it. Insert a little tea bag in the pocket of your tag.


vendredi 20 décembre 2019

Noel approche !


Noel arrive à grands pas !  Etes-vous prêts ? Beaucoup de choses à penser, beaucoup de choses à faire... Une petite création de Noel pour se changer les idées et essayer de garder sa zénitude ?

Voici la mienne.


Les fleurs sont faites à la main avec les produits de Heartfelt Creations provenant de la collection Candlelit Christmas Collection. Avec un autocollant d cela collection Les créations Edith Cloutier.


Encore quelques jours pour vous préparer à Noel... ou à créer !!!

Image hébergée par servimg.com

mercredi 6 novembre 2019

Un petit tag marin !

C'est le moment de vous présenter l'inspiration du mercredi de Heartfelt Creations !  Cette semaine je vous propose un petit tag aux allures marines.  Pour se faire j'ai principalement utilisé la collection de papier et d'étampe de la collection Sea Breeze.  Les fleurs elles sont pour leur part faites à la main avec les produits de la série oakberry Lane.  J'aime vraiment beaucoup ces fleurs qui sont très versatiles et se prêtent à beaucoup de style différents !


J'ai pris soin de rajouter de la jute, des racines de bois, du papier kraft ondulé, de la dentelle afin de donner un look ou les matières premières sont à l'honneur.


Voici maintenant les produits que j'ai utilisés ainsi que les étapes de créations de mon tag.


Other Products: Die cutting machine, cheesecloth, thread, water mister, hot glue gun, hot glue, scissors, Prima lace, seashell, ribbon, watercolor pencils staedtler, 13 arts roots, distress ink walnut stain, Strathmore watercolor paper, Funnel Tray
For more tips on creating with the Sea Breeze Collection watch the tutorial at https://youtu.be/FEQMFvu880o.
For more tips on creating with the Oakberry Lane collection, watch the tutorial at https://youtu.be/HirfUN8NEYY.
Instructions: Tag size is 6 x 4". From the Sea Breeze paper Collection, die cut a tag with the Album Tag and Accents Die using the large tag (in a blue paper). Ink the edges with maganese blue ink. Cut a smaller piece of corrugated paperand glue on your tag base with 3D foam to give dimension.
Stamp a rope frame from the A day at sea stamp set on white cardstock paper and color it with pencil or markers. Die cut with the appropriate die. Stamp a boat on watercolor paper and color it with watercolor pencil. Glue the rope frame over it and glue it over the corrugated paper.
Stamp the Oakberry lane blossoms flowers with a blue archival ink on white card stock. Color the petals with the same color. Cut it with the coordinating die. Shape the flowers by using the 3D Shaping Mold and give further shape with Deluxe Flower Shaping Kit tools. Add stamens in the centre of the flowers.
Put a ribbon, roots and thread in the left corner of your tag and glue 3 flowers over it.
Cut 1 tag from the paper collection and add it to your layout. You can also cut two other ones in a beige paper (ink the edge with walnut stain ink) and a small one in a blue a blue paper and glue it under the currugated paper. Add thread, lace and ribbon in the holes of your tags to complete it.
If you want, you can take a 12 x 4” white cardstock and fold it in 2 to have a card. Take you tag die and put the left side of it outside the paper, because you don’t want the left side to be cut. Put it in the die cutting machine and you will have a card the same size as your tag. Then you just have to glue your tag on it to have a beautiful card.


vendredi 30 août 2019

Petit tag de maison en pain d'épice

Bonjour,

Aujourd'hui je vous présente un petit tag de Noel faite avec les produits de la Collection Candy Cane Cottage. La maison en pain d'épice est magnifique et on peut s'amuser à la colorier aux couleurs de notre choix !


Voici les démarches pour faire ce petit tag ! Avec une liste de tous les produits utilisés !!!

Products Used:
Designer Dries White Adhesive159951
Funnel Tray359503
Stamp Mat PadD110305
Double Dots 100pc. -3D Foam CirclesDDOTS
Ticket and Tags DieHCD1-7201
Album Tags and Accents DieHCD1-7202
Purr-fect Posies DieHCD1-7238
Candy Cane Cottage DieHCD1-7253
Heart of Joy Decorative DieHCD1-7256
Candy Cane Cottage Paper CollectionHCDP1-2105
3D Purr-fect Posies Shaping MoldHCFB1-476
Purr-fect Posies Cling Stamp SetHCPC-3874
Candy Cane Cottage Cling Stamp SetHCPC-3884
Deluxe Flower Shaping Paper Pack of 50 - WhiteHCPP1-475
Assorted Pearl Stamens-MediumHCS1-459-2
Deluxe Flower Shaping KitHCST1-401
Ranger Archival Ink Pad - Jet BlackRACP468
Heat It Craft ToolRAHT
Image hébergée par servimg.com

Other Products: Die cutting machine, cheesecloth, thread, Stampin’pad ink Cherry Cobber, Steadtler watercolor pencil, Ice stickles diamond, Glossy Accent, ribbon
For more tips on creating with the Candy Cane Cottage Collection watch the tutorial at https://youtu.be/8Twf2bi7Lgk.
See how to shape flowers using the Deluxe Flower Shaping Kit here.  
Instructions: Tag size is 6 x 4". From the Candy Cane paper Collection , die cut the tag with the Album Tag and Accents die using the large and small tag. Glue those 2 papers  on top of each other.
Stamp a house from the Candy Cane Cottage stamp set and color it with pencil or markers. Die cut it with the appropriate die. Cut more elements (windows, roofs, door) and glue all over the original with 3D foam to give dimension to your house. Add glossy accent to the “snow” and let it dry. Cut a border from the Heart of joy decorative die and cut it in 2 pieces. Glue on each side of the house.
On white card stock, stamp and cut flowers with the Purr-fect Posies stamps and dies. Color the petals with stampin’pad cherry cobbler. Shape the flowers by using the 3D Shaping Mold and give further shape with Deluxe Flower Shaping Kit tools. Add red stamens in the centre of the flowers.
Put a cheesecloth and sewing thread in the center of your paper and glue your house over it.  Use 3D foam to glue the house on the tag. Paste on your house the flowers you just made.  Add a little bit of Ice stickles on your background.
Cut 1 ticket in the paper and add it to your layout as a sentiment.  Finish by adding thread and ribbon in the hole of your tag to complete it.