Aucun message portant le libellé wild aster collection. Afficher tous les messages

samedi 28 mars 2026

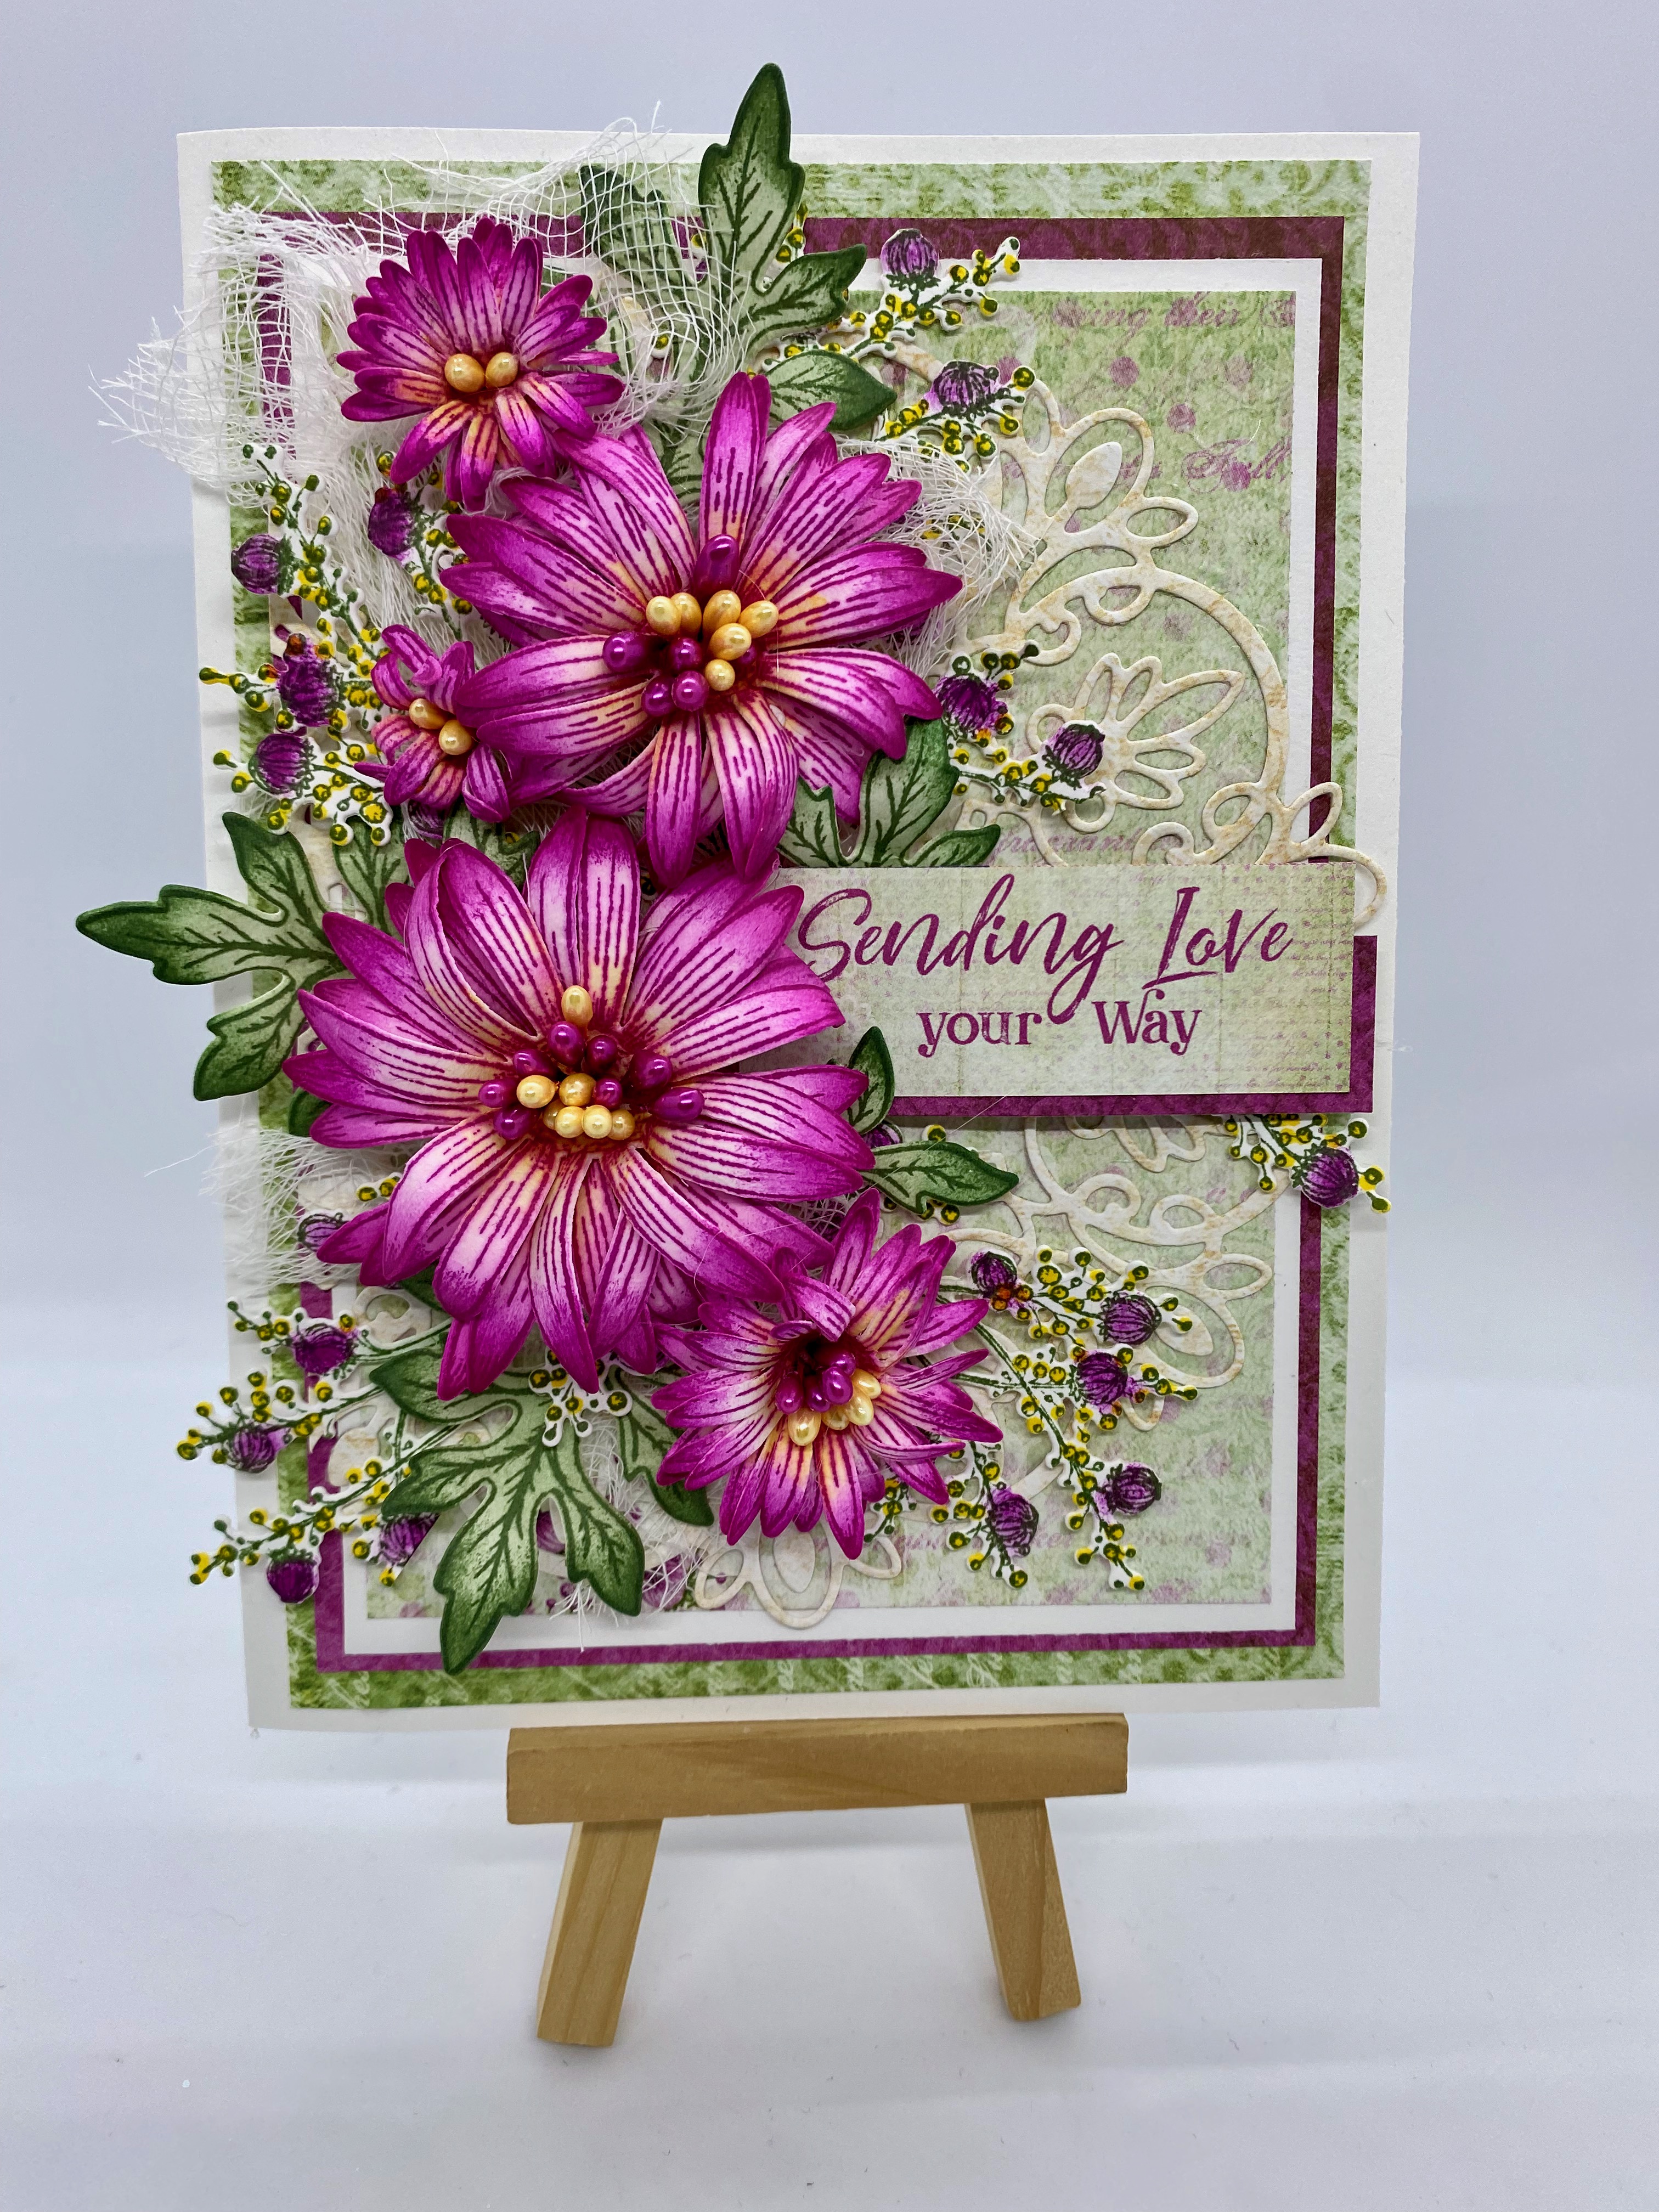
Carte: je pense à toi


Bonjour !

Je vous présente une carte que j'ai faite pour un défi de la boutique Scrapbook Tendance.  Les consignes étaient de s'inspirer du sketch proposé, y ajouter du vert ainsi qu'un trèfle à 4 feuilles.

J'ai ressorti mes fleurs Wild Aster faites à la main et je les aime toujours autant. Il faudrait que je m'en fasse quelques unes pour en avoir une petite réserve !


Image hébergée par servimg.com

samedi 15 avril 2023

Bonne fête ma belle filleul Éléonore !!!


Aujourd'hui je désire souhaiter une super belle journée à ma belle Éléonore. 18 ans !  Ce n'est pas tout les jour qu'on fête notre majorité !   Comme je l'ai fais en tant que fée marraine lors de ton baptème, je t'offre à nouveau le don de la curiosité.  Parce que la vie ne sera jamais plate et morne lorsqu'on se laisse éblouir par toutes les choses qui nous entourent, si petites et simples soient-elles.

Bonne fête ma belle nièce !!!

Voici donc une carte de fête pour cette occasion spéciale: une carte réalisée avec des cartes faites à la main avec du papier mousse et des dies de wild aster de Heartfelt Collection.


Image hébergée par servimg.com

jeudi 26 janvier 2023

Défi de janvier des Créations Edith Cloutier


Bonjour !
Voici ma participation au défi mensuel des Creations Edith Cloutier ou nous devions nous inspirer d'un sketch pour notre création.  J'en ai fait la carte suivante:


J'ai utilisé les produits suivants: 
-planche de découpes: Valentine
-mots autocollants: Grand Amour
-planches de découpes: Feuillage 2

J'ai aussi fait mes fleurs à la main avec du papier mousse et les produits Wild aster de Heartfelt Creations.

A bientôt !


Image hébergée par servimg.com

dimanche 1 janvier 2023

Bonne année !!!


Bonne année à vous tous et toutes qui me suivez sur mon blog, mon Facebook et mon instagram !!!

Quoi de mieux pour célébrer la nouvelle année qu'une bonne bouteille à partager entre amis !  C'est pourquoi aujourd'hui je vous propose de réutiliser vos bouteilles vides afin d'en faire des éléments de décorations.  J'ai fabriqué à la main les fleurs Wild Aster de Heartfelt Creations afin de bien décorer ma bouteille.  Je les ai recouverte de crystal clear en poudre afin de leur donner un look festif et brillant.

Image hébergée par servimg.com


Vous pouvez suivre ce lien pour consulter les étapes ainsi que la liste du matériel utiliser afin de réaliser cette bouteille.


dimanche 24 juillet 2022

Les fleurs Wild Aster de Heartfelt Creations

Une des fleurs que j'aime le plus fabriquer à la man ce sont les Wild Aster de Heartfelt Creations.

Elles sont polyvalentes, simples à réaliser et versatiles. Voici quelques exemples de comment nous pouvons les réaliser:

On peut les faire multicouches avec des pétales de grosseurs différentes et un centre en bouton de fleur comme dans l'exemple suivant:


On peut également les faire plus ébouriffées en les imbibant bien d'eau avant de les travailler avec les stylex.


On peut également faire des fleurs avec des étamines au centre pour donner un beau volume:


Ou bien on peut simplement mettre des pris au centre afin de garder un effet un peu plus deux dimensions.


Et voila ! 4 façon différentes de faire des fleurs avec les Wild aster !


Image hébergée par servimg.com

lundi 6 décembre 2021

Quand on offre une bouteille

Voici une étiquette que j'ai créée afin de la mettre sur une bouteille lorsqu'on l'offre à quelqu'un.  Cela fait un joli petit cadeau d'hôte personnalisé !

J'ai réalisé les fleurs à la main avec les produits de la collection Wild Aster.


Ici pour tous les détails: https://www.heartfeltcreations.us/gallery/aster-bottle-tag


Image hébergée par servimg.com

mardi 17 août 2021

Carte fenêtre fleurie

Bonjour,

Aujourd'hui je vous présente une carte fenêtre réalisée avec les produits de Heartfelt Creations.  J'aime particulièrement comment nous pouvons réaliser de beaux boutons de rose avec les produits de la série Dazzling Dahlia.  


Products Used:
Delightful Daffodil Paper CollectionHCDP1-2124
Dazzling Dahlia DieHCD1-7323
Dazzling Dahlia Cling Stamp SetHCPC-3928
3D Dahlia Shaping MoldHCFB1-494
6" x 6" Shutter Fold Card - WhiteHCCB1-480
Rounded Eyelet Window DieHCD1-7273
Wild Aster DieHCD1-7257
Wild Aster Cling Stamp SetHCPC-3887
Leafy Accents Cling Stamp SetHCPC-3835
Leafy Accents DieHCD1-7193
3D Leafy Accents Shaping MoldHCFB1-467
Pastel Pearl Stamens-SmallHCS1-457-1
Pastel Pearl Stamens-MediumHCS1-457-2
Ticket and Tags DieHCD1-7201
Just For You Sentiments Cling Stamp SetHCPC-3845
Deluxe Flower Shaping Paper Pack of 50 - WhiteHCPP1-475
Eyelet Circle & Basics Small DieHCD1-7154
Deluxe Flower Shaping KitHCST1-401

Other Products: Die cutting machine Cut’n’boss, heat gun, water mister, hot glue gun, hot glue, scissors, cheesecloth, Gutermann sewing thread, ribbon, 
Instructions: The finished card measures 6 inches by 6 inches. Take a 6" x 6" Shutter Fold Card – White for your card base. Glue the two left panels together. Cut with the Rounded Eyelet window die. Repeat for the right part. Cut a 6 x 6 inch piece from the paper #10A and glue it inside the card.
From the Eyelet Circle and basics small die, cut a 3.5’’ circle in blue paper and a 3’’ circle in green. Glue on the top of each other and glue it on the middle of the left panel. From the inside glue another 3.5 blue circle to hide the back of the first.
Made 2 differents kind of flowers: 2 blue Dahlia buds, 4 yellow flowers from Wild Aster. For the blue I used archival ink French Ultramarine and for the yellow the archival Sunflower ink. Here’s the steps to make the flowers: Stamp using your ink onto flower shaping paper, colour the petals with the same color and diecut with the coordinating die. Place face down into the flower shaping mold, spritz with water and run through the diecutting machine to shape. When dry, give further shape with Deluxe flower shaping kit tools. For the aster, poke a hole in the centre of the flowers and add stamens, secure with hot glue. For the buds, simply glue them together with hot glue gun. On the blue buds, put a little bit of glue on the flowers and dip them in the glitter to make them shine.
Stamp, cut and emboss leaves from the Leafy Accents collection. Color with leaf green archival ink. Glue on your 2 circles. Over the leaves, add cheesecloth and sewing thread. Add your flowers on top.
Stamp a sentiment on a white cardstock with leaf green ink, die cut with a little ticket. Ink the edge in green and glue it on your card.

To add the final touch, add lace ribbon through your bouquets.


Image hébergée par servimg.com


mercredi 1 avril 2020

Memories with you

Bonjour !

En ces temps de quarantaine il peut être bon de se remémorer le temps passé auprès des gens que l'on aime, et pourquoi pas, de reprendre contact avec eux, le temps d'un courriel ou d'un téléphone...  On peut également créer une jolie carte et l'envoyer à quelqu'un pour lui témoigner que, malgré la distanciation sociale, elle est présente dans nos pensées !

Voici une carte qui se prêterait bien à cela !  Mes fleurs ont été faites en feuille de mousse ce qui donne un petit look différent du papier. Toujours avec les merveilleux produits de Heartfelt Creations.


Products Used:
Cottage Garden Paper CollectionHCDP1-2111
Wild Aster Spray DieHCD1-7258
Wild Aster Spray Cling Stamp SetHCPC-3888
Large Classic Petunia DieHCD1-7140
Large Classic Petunia Cling Stamp SetHCPC-3786
Leafy Accents Cling Stamp SetHCPC-3835
Leafy Accents DieHCD1-7193
3D Leafy Accents Shaping MoldHCFB1-467
Pastel Pearl Stamens-SmallHCS1-457-1
Art Foam Paper-10 PackHCFS1-465
Deluxe Flower Shaping Paper Pack of 25 - WhiteHCPP1-468
Deluxe Flower Shaping KitHCST1-401
Stack and Store Daubers-Pack of 30HCDA2-450
Ranger Archival Ink Pad - Leaf GreenRACP436
Heat It Craft ToolRAHT
Stamp Mat PadD110305
5pc. Acrylic Block SetSUAH05
StazOn Stamp CleanerTSSZSC

Other Products: Die cutting machine Cut’n’boss, heatgun, funnel tray, water mister, hot glue gun, hot glue, scissors, Stickles ranger Lime Green and waterfall, Stampin’ Write Bashful Bblue and Certainly Celery, cheesecloth, lace
For more tips on creating with the foam paper & stamens, watch the tutorial at https://youtu.be/Oma6ctVmUD0.
Instructions: The finished card measures 8 x 6 1/4". Cut the card base in a white card stock to 8 x 12 1/2" and score at 6 1/4" on the longer side. Fold to make an horizontal folding card. Cut a 3 3/4 x 6 1/8" piece of green paper from the Cottage Garden Collection and glue it to the card base. Then cut out another piece of pattern paper 3 5/16 x 5 9/16" and glue under this, a piece of white paper just a little bit larger. Glue it on the base card too with a 3D foam to give dimension to your card.
Stamp 2 wild aster spray flowers with the Leaf Green archival ink on white card stock. Cut it with the appropriate die. Made some shiny dots on it with the Stickles ranger Lime Green and Blue Waterfall.
Stamp 2 vines from the large Classic Petunia with the Leaf Green archival ink on white card stock. Cut it with the appropriate die. Color them with blue and green.
Stamp 3 big petals from the Large classic petunia onto the foam paper with blue ink. Color lightly the petals in the center on both sides. Put the 3 petals together with 8 stamens in the center. Heat the flowers with your heatgun and twist the petals with your fingers when they still hot. Fix them with glue gun. Do it twice to have 2 flowers.
Use the archival ink leaf green to stamp and color leaves. Die cut and use the mold to give them a nice shape.
Put cheesecloth and sewing thread in the middle of your card. Glue over it your vine and aster spray. Glue your flower over it. Put the leaves under your flowers. Put wire string, ribbon, and lace between your flowers.

Cut a sentiment from the paper and glue on the card, using 3D foam to give dimension.