Aucun message portant le libellé candlelit christmas collection. Afficher tous les messages

lundi 30 décembre 2019

Petite boite festive

Bonjour !

La fête de Noel est maintenant passée e je me rend compte que j'avais oublié de vous présenter mon petit coffret de noel !

En fait j'ai pris une petite boite que j'ai peinturé de couleur métallisée.  J'ai ajouté un ruban et j'ai fait des poinsettias de papier avec les produits de la collection Candlelit Christmas Collection de Heartfelt Creations.  Un effet extra d'une simplicité absolue !


Voici les étapes et le matériel que j'ai utilisé pour cette création.

Products Used:
Designer Dries White Adhesive159951
Rajni Chawla's Vellum Flowerite - 10 Sheets18002
Embossing Powder - Gold359760
ColorBox Pigment Ink Pad - Frost WhiteCB80
Stamp Mat PadD110305
Double Dots 100pc. -3D Foam CirclesDDOTS
Christmas Poinsettia & Holly DieHCD1-7249
3D Christmas Poinsettia Shaping MoldHCFB1-478
Christmas Poinsettia & Holly Cling Stamp SetHCPC-3881
Assorted Pearl Stamens-SmallHCS1-459-1
Deluxe Flower Shaping KitHCST1-401
Rajni Chawla's Frosting PowderPGM15016
Ranger Archival Ink Pad - VermillionRACP461
Ranger Archival Ink Pad - Jet BlackRACP468
Ranger Archival Ink Pad - Fern GreenRACP962
Heat It Craft ToolRAHT
Hydra SpongesRLHS100
5pc. Acrylic Block SetSUAH05

Other Products: Die cutting machine Cut’n’boss, cheesecloth, Gutermann sewing thread, water mister, hot glue gun, hot glue, scissor, ribbon, gesso, Gold wire, candy box, Ranger glitter gold, red berry, funnel tray
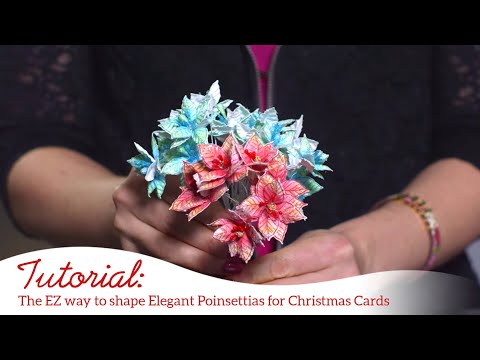
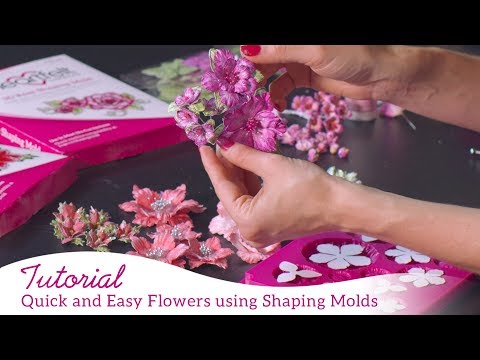
For more tips on creating with the flower shaping molds, watch the tutorial at https://youtu.be/FSdPL7nXvQE.
For more tips on creating with the Candlelit Christmas collection, watch the tutorial at https://youtu.be/PJeFD_d3AiM.
Instructions: Click here to view a larger photo of this project. Stamp the Christmas poinsettias flowers and leaves with colorbox frost white ink on vellum paper. Emboss it with gold powder and a heat gun. Color the petals with Archival Vermillion ink and the leaves with the fern green. Cut with the coordinating die. Shape the flowers by using the 3D Shaping Mold and give further shape with Deluxe Flower Shaping Kit tools. Add stamens in the center of the flowers. Put a little bit of glue on the flowers and dip them in the glitter to make them shine. Create 6 smalls flowers.
Take a gold box and paint the side with gesso. Put gold glitter on the side. Wrap a gold ribbon around it.
On the lid of the box, glue cheesecloth and sewing thread. Glue your flowers and leaves over it.
Add wire and little red berry between the flowers with white glue.
Then put your gift inside your Christmas box!


Image hébergée par servimg.com

samedi 21 décembre 2019

Noel avec des couleurs non traditionnelles


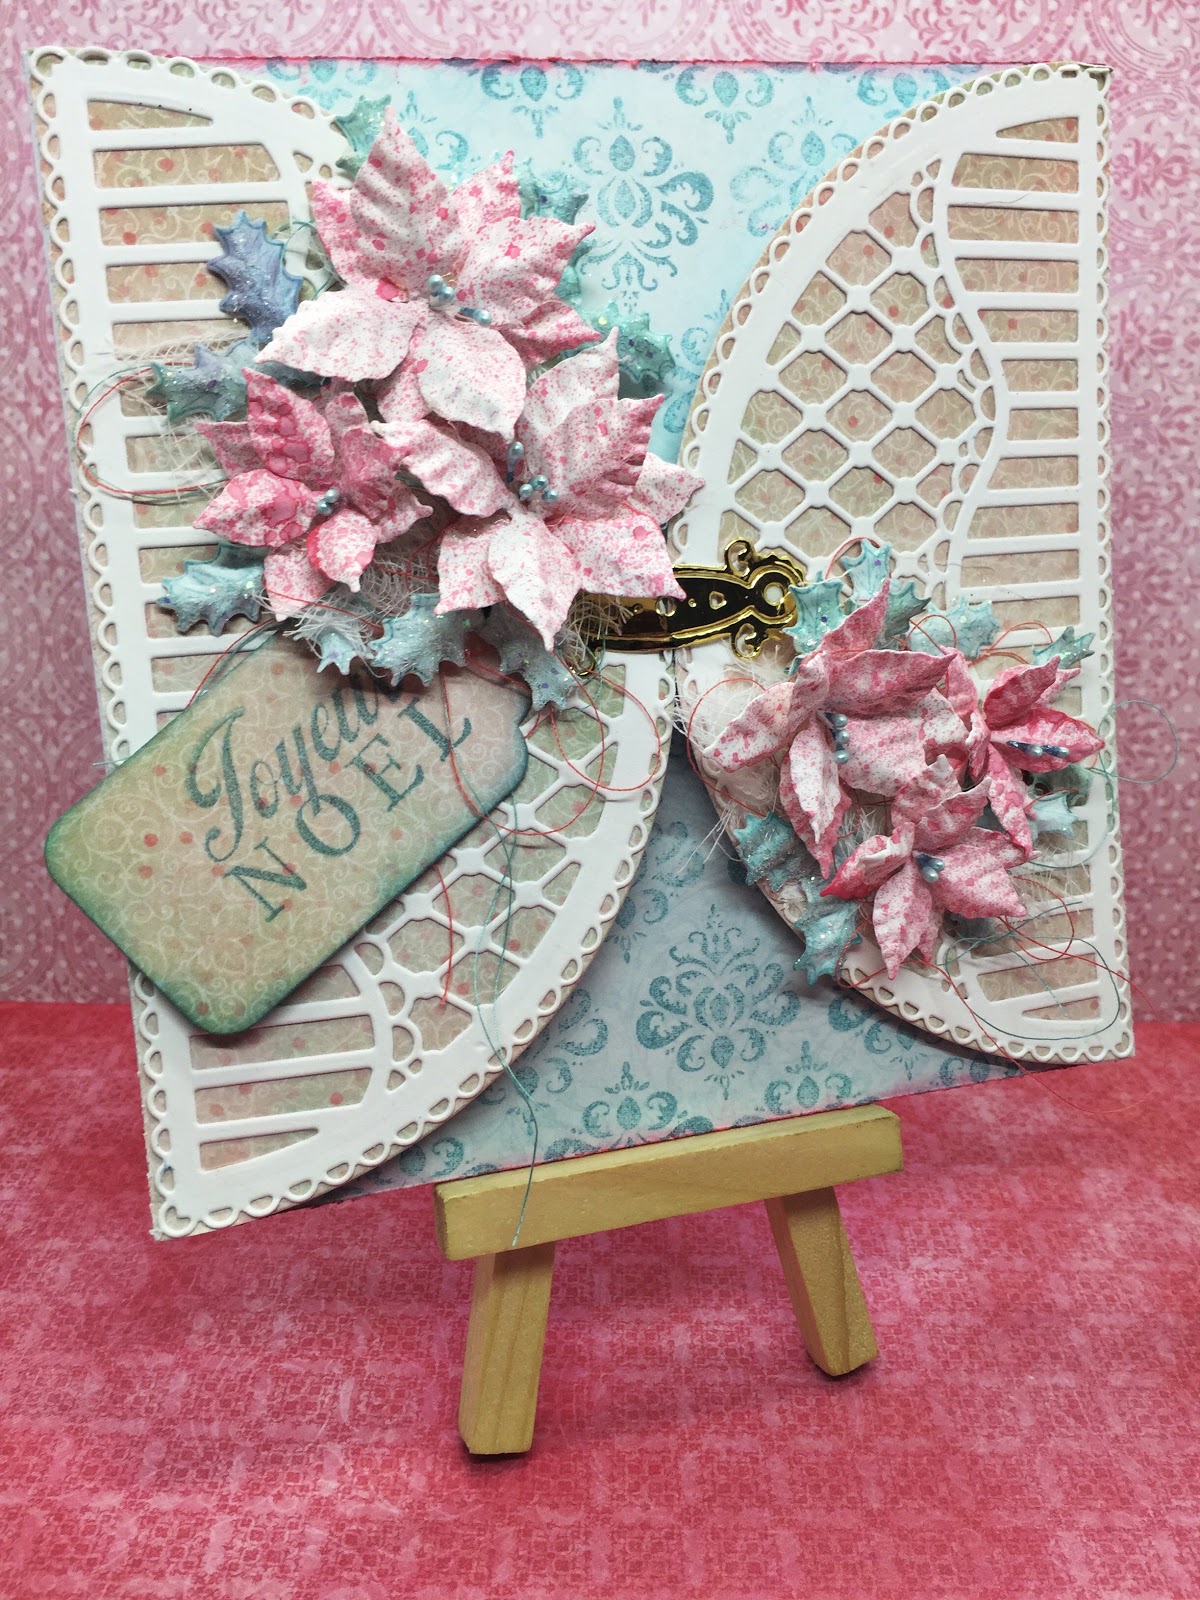
Sur le forum de scrap aux puces ont nous demandait de faire des cartes de noel ayant des couleurs non-traditionnelles . Voici donc la mienne.


Encore une fois j'ai utilisé les produits de la compagnie Heartfelt Creations afin de faire ma carte.  Les fleurs en papier ont été faites à la main. 


Image hébergée par servimg.com

vendredi 20 décembre 2019

Noel approche !


Noel arrive à grands pas !  Etes-vous prêts ? Beaucoup de choses à penser, beaucoup de choses à faire... Une petite création de Noel pour se changer les idées et essayer de garder sa zénitude ?

Voici la mienne.


Les fleurs sont faites à la main avec les produits de Heartfelt Creations provenant de la collection Candlelit Christmas Collection. Avec un autocollant d cela collection Les créations Edith Cloutier.


Encore quelques jours pour vous préparer à Noel... ou à créer !!!

Image hébergée par servimg.com

jeudi 5 décembre 2019

Avez-vous été sages ?


Noel arrive à grands pas !  Ce qui m'a donné le goût de créer une petite page festive en utilisant les 2 collections de Noel de Heartfelt Creations, soit Candlelit Christmas Collection et Candy Cane Cottage.

J'ai choisis une photo de mes 2 plus grands, alors qu'ils étaient bien petits !  Et c'est avec une pointe d'humour que j'ai choisi comme titre: Avez-vous été sages ?  Et qu'on peut lire plus bas sur les autocollants de Créations Edith cloutier: Cher père Noel, je peux expliquer... lol ! Avec la face qu'ils ont sur la photo on comprend bien qu'ils ont des trucs à expliquer lol


Mes beaux poinsettias tout fait à la main ! Vous pouvez voir plus bas les liens vers les vidéos nous montrant comment les réaliser !


Voici une description des fournitures utilisées de même que les étapes de ma création (en anglais).

Products Used:
Designer Dries White Adhesive159951
Stamp Mat PadD110305
Double Dots 100pc. -3D Foam CirclesDDOTS
Christmas Poinsettia & Holly DieHCD1-7249
Candy Cane Cottage Paper CollectionHCDP1-2105
3D Christmas Poinsettia Shaping MoldHCFB1-478
Christmas Poinsettia & Holly Cling Stamp SetHCPC-3881
Rock Candy Stamens-SmallHCS1-459-4
Deluxe Flower Shaping KitHCST1-401
Ranger Archival Ink Pad - Jet BlackRACP468
Ranger Archival Ink Pad - Fern GreenRACP962
Heat It Craft ToolRAHT
Hydra SpongesRLHS100
5pc. Acrylic Block SetSUAH05
StazOn Stamp CleanerTSSZSC

Other Products:  Die cutting machine Cut’n’boss, cheesecloth, Gutermann sewing thread, water mister, hot glue gun, hot glue, scissors, 28 lilac lane’s sequins, American craft ribbon, Stampin’pad ink Cherry Cobber, wilton doilies, words stickers from Lucky 7 factory, My mind eyes, Making memories and Les creations Edith Cloutier, Irresistible Ink (color ladybug, tuxedo black and wedding dress)
For more tips on creating with the flower shaping molds, watch the tutorial at https://youtu.be/FSdPL7nXvQE.
For more tips on creating with the Candlelit Christmas collection, watch the tutorial at https://youtu.be/PJeFD_d3AiM.
For more tips on creating with the Candy Cane Cottage Collection watch the tutorial at https://youtu.be/8Twf2bi7Lgk.
Instructions: Click here to view anther photo of this project. Layout is 12 x 12”. Choose paper from the Candy Cane Cottage Paper Collection. Stamp the Christmas poinsettias flowers and holly leaves with a black archival ink on white card stock. Color the petals with stampin’pad cherry cobbler and the leaves with the fern green. Cut with the coordinating die. Shape the flowers by using the 3D Shaping Mold and give further shape with Deluxe Flower Shaping Kit tools. Add stamens in the center of the flowers. Put a little bit of glue on the flowers and dip them in the glitter to make them shine. Make 6 flowers.
Put doilies, cheesecloth and sewing thread in the right corner of your layout and glue your picture over it (with 3D foam square to give volume). Add 3 flowers and leaves on the right corner of the pictures. Also add doilies, cheesecloth, sewing thread and flowers and leaves on the opposite side of the layout. Add ribbon between the flowers with white glue.
With differents letters, make your title (mine is: Have you been wise? Dear Santa, I can explain…) Connect your two clusters of flowers with string that you glue with white glue.
Then make droplets of red, black and white ink by shaking a brush gorged with ink over the sheet.
To add the finishing touch, simply add sequins!


Image hébergée par servimg.com

mercredi 31 juillet 2019

Carte de Noel

La collection Candlelit Christmas en est une que j'adore particulièrement.  Elle nous permet de créer de magnifiques créations festives.  Tout comme la carte que je vous présente aujourd'hui.


Pour plus d'information concernant cette collection, vous pouvez consulter le vidéo suivant: https://youtu.be/PJeFD_d3AiM.

Voici les produits que j'ai utilisé pour faire cette carte, ainsi que mes démarches (en anglais).

Products Used
Candlelit Christmas Paper CollectionHCDP1-2104
Candlelit Poinsettia Cling Stamp SetHCPC-3882
Starry Night Decorative DieHCD1-7252
Glow of Christmas Cling Stamp SetHCPC-3883
Glow of Christmas DieHCD1-7251
Christmas Poinsettia & Holly Cling Stamp SetHCPC-3881
Christmas Poinsettia & Holly DieHCD1-7249
3D Christmas Poinsettia Shaping MoldHCFB1-478
Bridal Bouquet Stamens-SmallHCS1-460
Album Tags and Accents DieHCD1-7202
Deluxe Flower Shaping KitHCST1-401
Deluxe Flower Shaping Paper Pack of 50 - WhiteHCPP1-475
Designer Dries White Adhesive 159951
Rajni Chawla's Frosting PowderPGM15016
Heat It Craft ToolRAHT
Stamp Mat PadD110305
Funnel Tray359503
5pc. Acrylic Block SetSUAH05
StazOn Stamp CleanerTSSZSC

Other Products: Die cutting machine, cheesecloth, thread, Steadtler watercolor pencil, Embossing powder WOW ! opaque bright white, Distress ink faded jeans, Glossy accent, Versamark watermark stamp pad
See how to shape flowers using the Deluxe Flower Shaping Kit here
For more tips on creating with the Candlelit Christmas collection, watch the tutorial at https://youtu.be/PJeFD_d3AiM.
Instructions: The finished card measure 6 inches by 5 inches. Cut the card base in a white card stock to 10 inches by 6 inches and score at 5 inches on the longer side. Fold to make a vertical top folding card. Cut a 6 x 5 inche piece of blue pattern paper from Candlelit Christmas Collection and glue it to the card base. Die cut the decorative tag from the Album Tags and Accents Die from white cardstock. Diecut the inside plain edge from paper from the collection and adhere to decorative diecut. Diecut a frame using the two dies together from white cardstock and adhere to the decorative tag. Adhere decorative tag to card base using glue.
Use the Starry night decorative die and white cardstock to make 2 borders for the card base. Stamp your sentiment in the middle of your tag by using versamark and white embossing powder. (I chose Merry Christmas sentiment from the Candlelit Poinsettia and Holly stamps). Heat set with heat It Tool.
Stamp the Christmas poinsettia flowers and holly leaves with Distress ink Faded jeans ink on white card stock. Color the petals with the same color. Cut it with the coordinate die. Shape the flowers by using the 3D Shaping Mold and give further shape with Deluxe Flower Shaping Kit tools. Add stamens in the center of the flowers. Put a little bit of glue on the flowers and dip them in the glitter to make them shine. Stamp holly spray from the Glow of Christmas stamps. Color your leaves in green with markers or pencils. Cut with the appropriate die.
Finally, put cheesecloth and sewing thread down to your frame and glue your holly spray and flowers over it.Image hébergée par servimg.com


jeudi 25 juillet 2019

Un tag pour Noel !

La collection Candlelit Christmas nous donne presque le goût de nous retrouver à Noel !!! (Bon j'ai pas dit de nous retrouver en hiver mais bien de nous retrouver à Noel !)   Ici je vous ai fabriqué un tag  que l'on  peut aisément joindre à un cadeau comme étiquette.


J'ai découpé à plusieurs reprises l'étampe de chandelle l'aide du die et j'ai collé ensemble toutes les découpes afin de me créer un Chipboard maison et ainsi donner du volume à mon étampe.


Evidemment les poinsettias fait à la main sont un must dans cette collection !


Voici une liste des produits utilisées de même que les instructions (en anglais) pour reproduire ce tag. Vous pouvez de plus consulter les vidéos suivants afin de voir comment les produits de Heartfelt Creations sont incroyables !


Other Products: Die cutting machine, cheesecloth, 28 lilac lane sequin, thread, Stampin' Up pad ink Cherry Cobber, Steadtler watercolor pencil
See how to shape flowers with the Deluxe Flower Shaping Kit here
For more tips on creating with the Candlelit Christmas collection, watch the tutorial at https://youtu.be/PJeFD_d3AiM.
Instructions: Click here to view a larger photo of this project. Tag size is 6 x 4". From the Candlelit Christmas paper Collection die cut the tag with the Album Tag and Accents Die using the large and small tag. Also, cut a smaller piece of paper that you will tear with your fingers on the top. Glue those 3 papers on top of each other.
Stamp a candle from the Candlelit poinsettia stamp set and color it with pencil or markers. Die cut it with the appropriate die. Cut 5 more candles in the white paper and glue them all together. It will give the effect of a chipboard to your stamp.
Stamp the Christmas poinsettias flowers and leaves with a black archival ink on white card stock. Color the petals with stampin' up pad cherry cobbler. Cut it with the coordinating die. Shape the flowers by using the 3D Shaping Mold and give further shape with Deluxe Flower Shaping Kit tools. Add stamens in the centre of the flowers. Put a little bit of glue on the flowers and dip them in the frosting powder glitter to make them shine. Color your leaves in green with markers or pencils.
Put a cheesecloth and sewing thread in the center of your paper and glue your candle over it. Paste on your candle the flowers and leaves you just made and add red stamens to add color. Finish by adding a little bit of sequins.
Cut 2 tags from the paper collection and add it to your layout. Add thread and ribbon in the hole of your 3 tags to complete it.